


Are you sure to delete it?


CHARACTERISTICS AND PACKAGING
|
Item |
Description |
|
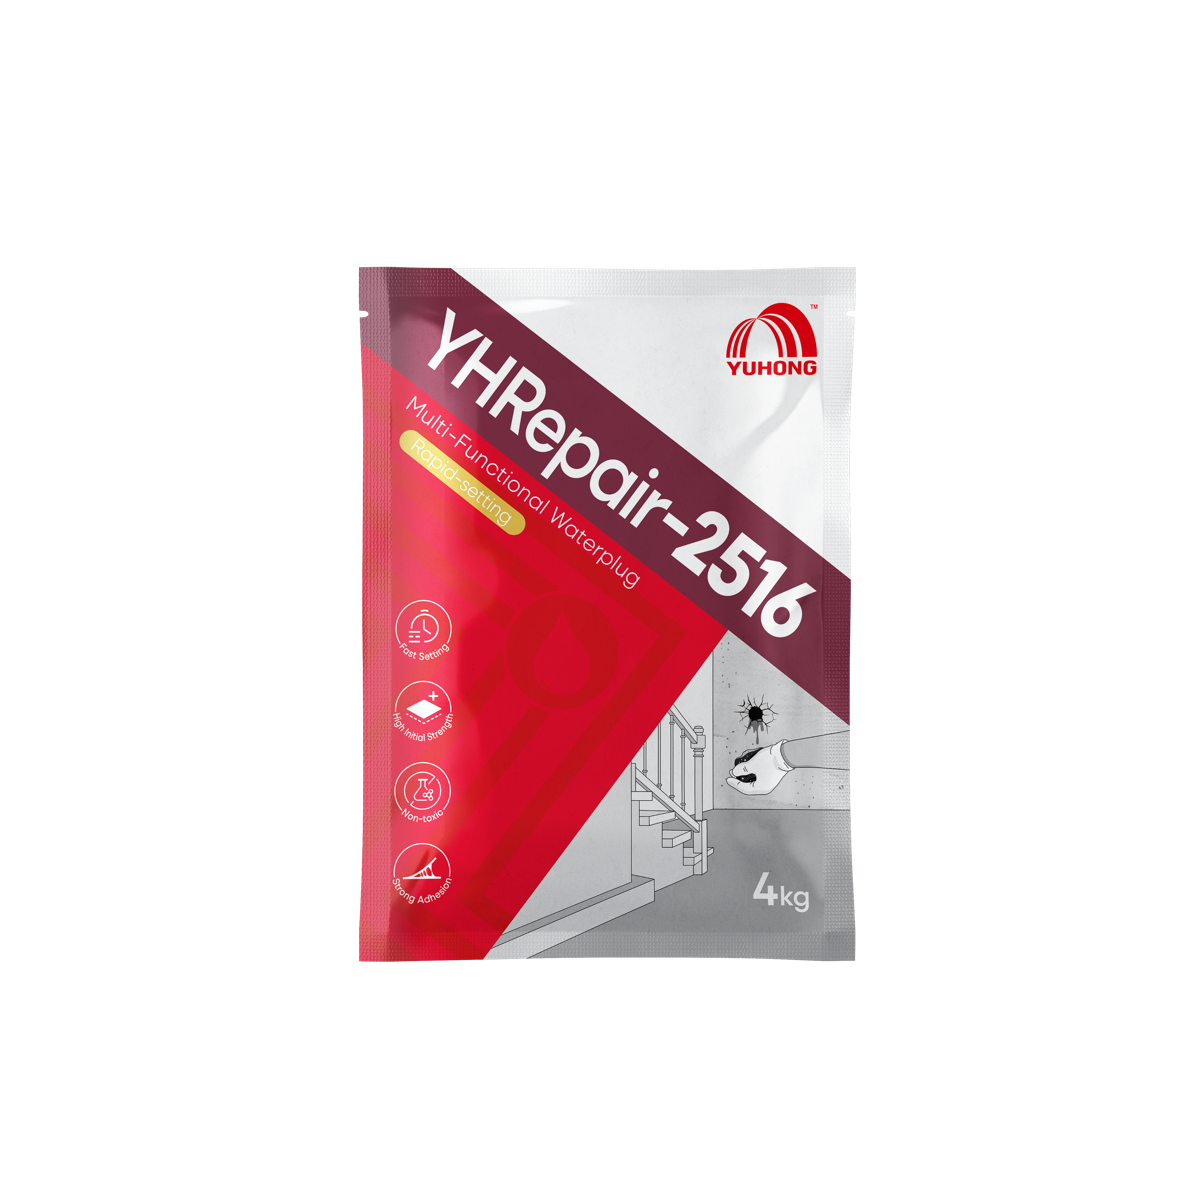
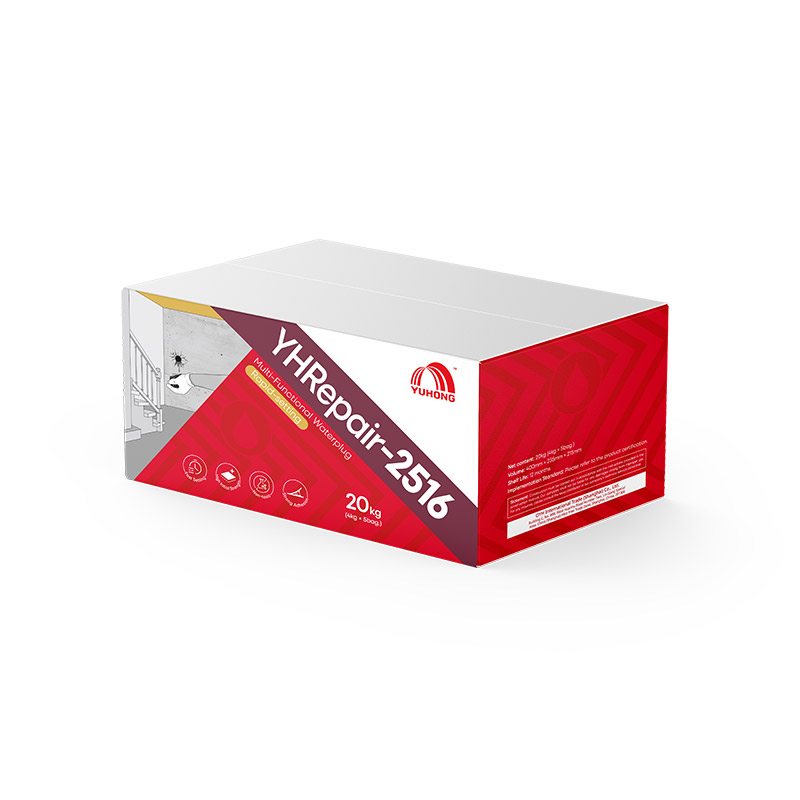
Packaging |
4kg×5 bags per carton |
|
Appearance |
Dark gray powder |
PROPERTIES
|
Description |
Test Methods |
Typical Values |
|
Reaction to fire |
EN 13501-1 |
Fire rating, Classified A1 |
|
Initial setting time (23 °C, water/powder=0.27)/min |
BS EN 196-3 |
≈2.3 |
|
Final setting time (23 °C, water/powder=0.27)/min |
BS EN 196-3 |
≈3.1 |
|
Compressive strength (1h)/ MPa |
ASTM C 109 |
≥12 |
|
Compressive strength (3 days)/ MPa |
ASTM C 109 |
≥20 |
|
Compressive strength (28 days)/ MPa |
ASTM C 109 |
≥40 |
|
Flexural strength (28 days)/ MPa |
ASTM C348 |
≥5.5 |
|
Tensile adhesion / MPa |
ASTM C496 |
≥5 |
Note: The above data were tested under standard conditions (temperature 23 °C ± 2 °C, relative humidity 50% ± 10%).
APPLICATION INSTRUCTIONS
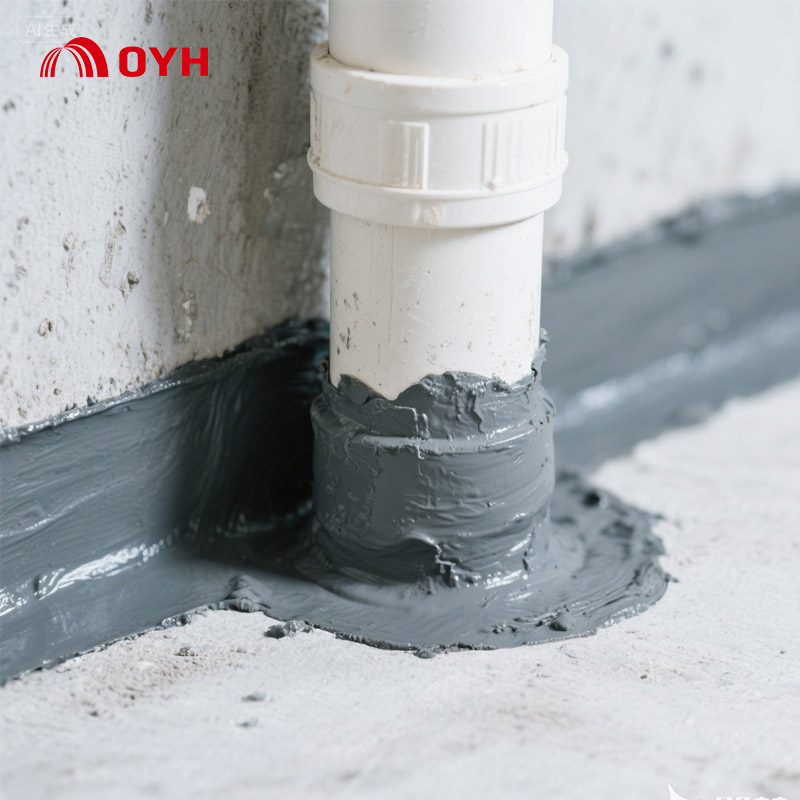
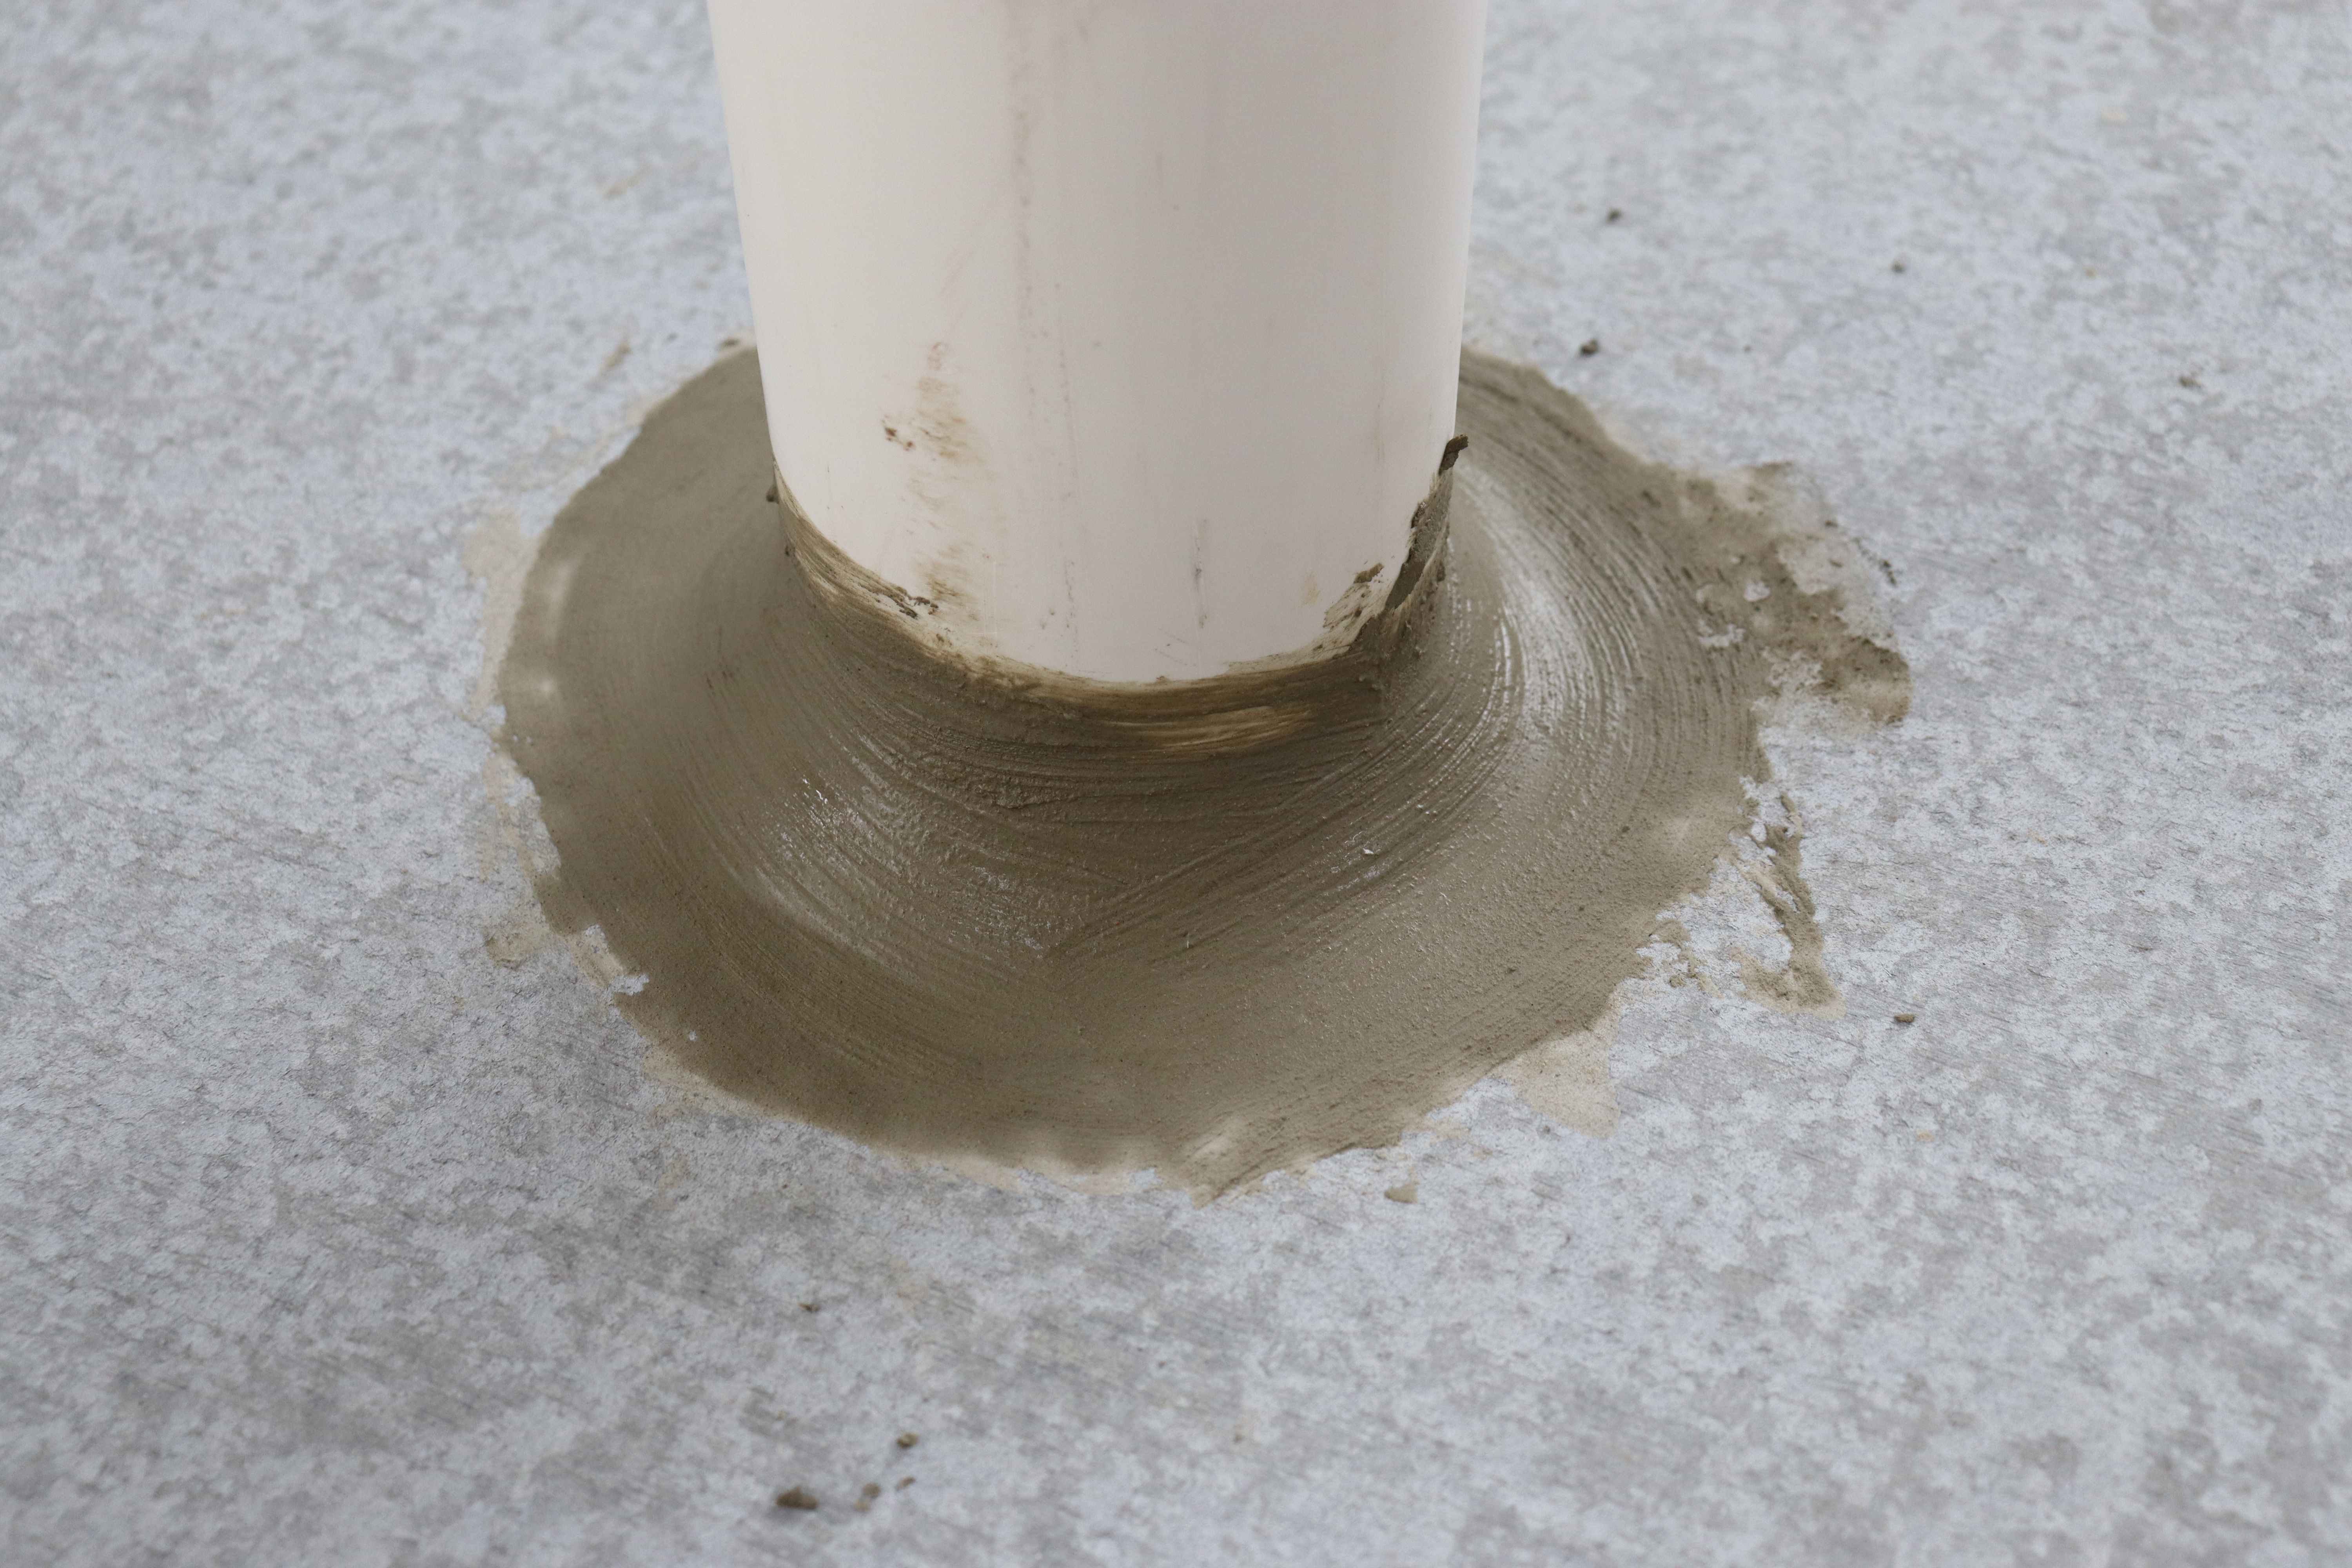
Strengthening Treatment of Waterproof Joints
Clean the surface of the substrate thoroughly to ensure it is free from mold release agents, floating slurry, loose gravel, dust, and other debris. Before use, fully moisten the substrate with water, but ensure there is no standing water.
Mix the material at a powder-to-water ratio of 1:(0.27-0.4). Avoid preparing too much product at once; it is recommended to use the mixture within 10 minutes. Apply the slurry evenly to the internal corners and pipe roots of walls and floors using a trowel, ensuring complete filling and compaction. Each application layer should be 1-2mm thick. If multiple layers are required, wait until the previous layer has hardened (no fingerprint left when pressed) and remoisten before applying the next layer.
Leakage stoppage and repair
For Leak Points: Mix the material at a powder-to-water ratio of 1:0.27, shape it into a cone similar in diameter to the groove, and let it sit briefly until it feels firm to the touch. Then, press it into the groove and use a wooden stick to compact it, ensuring it is tightly squeezed inward and around the edges.
For Leak Cracks: Mix the material at a powder-to-water ratio of 1:0.27, shape it into a strip, and let it sit briefly until it feels firm to the touch. Press it into the groove and quickly compact the edges. For longer cracks, fill them in sections sequentially, with each section approximately 100mm-150mm long, leaving a 20mm gap between sections.
For Large-Area Water Seepage: When addressing widespread leakage, it is necessary to first divert water and relieve pressure, transforming surface leakage into linear or point leakage. Minimize the areas of seepage by concentrating the leakage into one or several points to reduce water pressure in other areas. Afterward, apply the waterproofing and leak-sealing methods used for point or linear leakage.
After completion, inspect the repair to ensure it is intact, with no missed spots or peeling. If any of these issues are found, perform additional repair work as needed.
Tool Cleaning
All tools and application equipment shall be cleaned with water immediately after use. Hardened or cured material can only be removed mechanically.
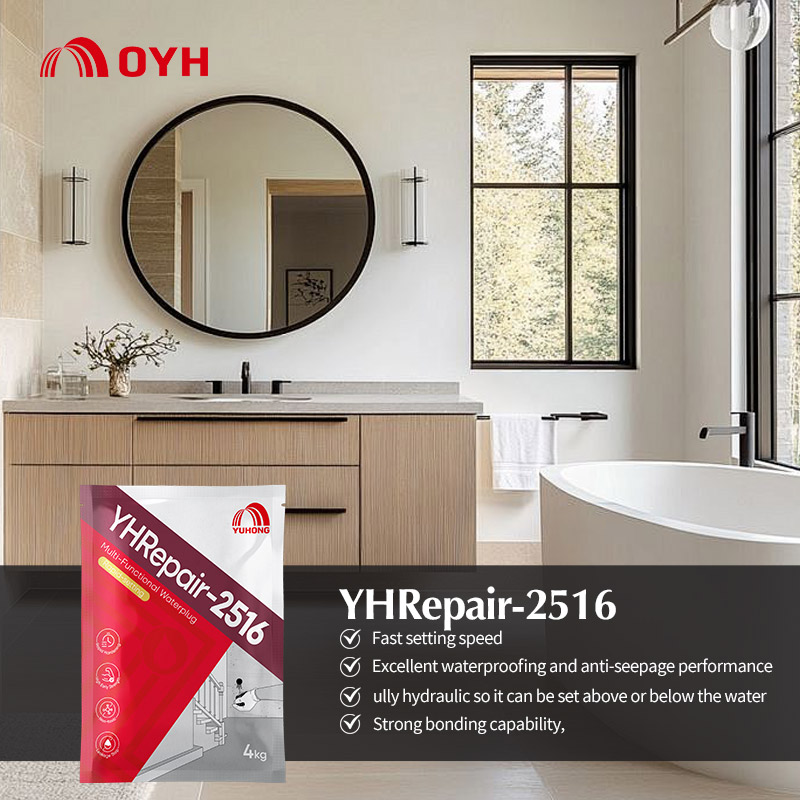
ADVANTAGES
· Fast setting speed, so it can stop running water and develop high strength quickly.
· Excellent waterproofing and anti-seepage performance, suitable for construction on both the positive and negative sides of surfaces.
· Fully hydraulic so it can be set above or below the water.
· Strong bonding capability, seamlessly integrating with the substrate to form a unified whole, resistant to aging and with excellent water resistance.
 Rapid setting and quick strength development
 Superior waterproofing for dual-side application
 Applicable in dry or underwater conditions
 High bonding strength with durable, aging-resistant performance